Tuesday, May 25, 2010

Keepsake Pillow

I made this frame back in August when I first started my blog. (you can see how I made it here)and I finally turned it into this cute pillow.Here's how I made it: I started off with the embroidered piece, 4 brown fabric pieces the length of each side and 2" wide, and the pink corners are 2"x2". Pin right sides together (two of the sides) and sew.Pin the pink square to the ends of the top and bottom pieces and sew. (I had to cut my brown fabric 1/4" so they lined up correctly but you may not needs to-check before you sew)
Pin top and bottom pieces on your pillow front right sides together and sew.
Lay right sides together on your fabric you are going to use for the back. Pin in place and cut out to get the correct size.

sew around the pillow and leave an opening to stuff. Pull pillow threw so Its right side out and stuff. hand stitch shut. You now have a sweet pillow to help you remember those tiny hands and feet.


Don't forget the next challenge link up starts tomorrow! The theme is education and learning-share those great teacher's gifts, fun learning tools for your kids, ways to save school memories, last day of school ideas, etc. There is a lot that can fit into this category so please share any new or past crafts you've made. Mine isn't quite done but I'll be sharing it on Thursday! See you tomorrow.

Tuesday, May 18, 2010

Preppy Sundress

For my "use your stash project" I decided to make this adorable sundress for my daughter. I used this free Oliver + S pattern. I loved the argyle fabric from hobby lobby and I really like how the dress turned out. I made the size 6 but its a little wide. I think next time I will make the size 5 but add some length. I think this pattern may have helped ease my fears of making clothes a little-but I think I need a lot of practice.


Aubrey HATES dresses so she wasn't in the best mood to take pictures. So this is the best I could do-I was just happy she wore it.


Tuesday, May 11, 2010

Magnetic Paper dolls

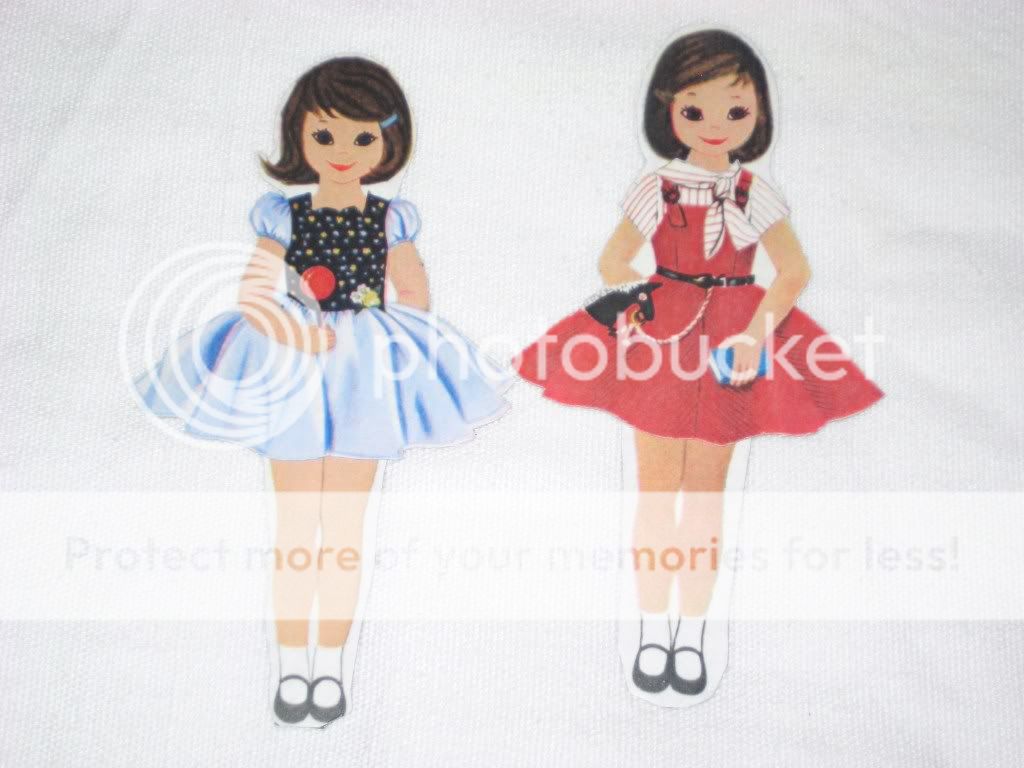
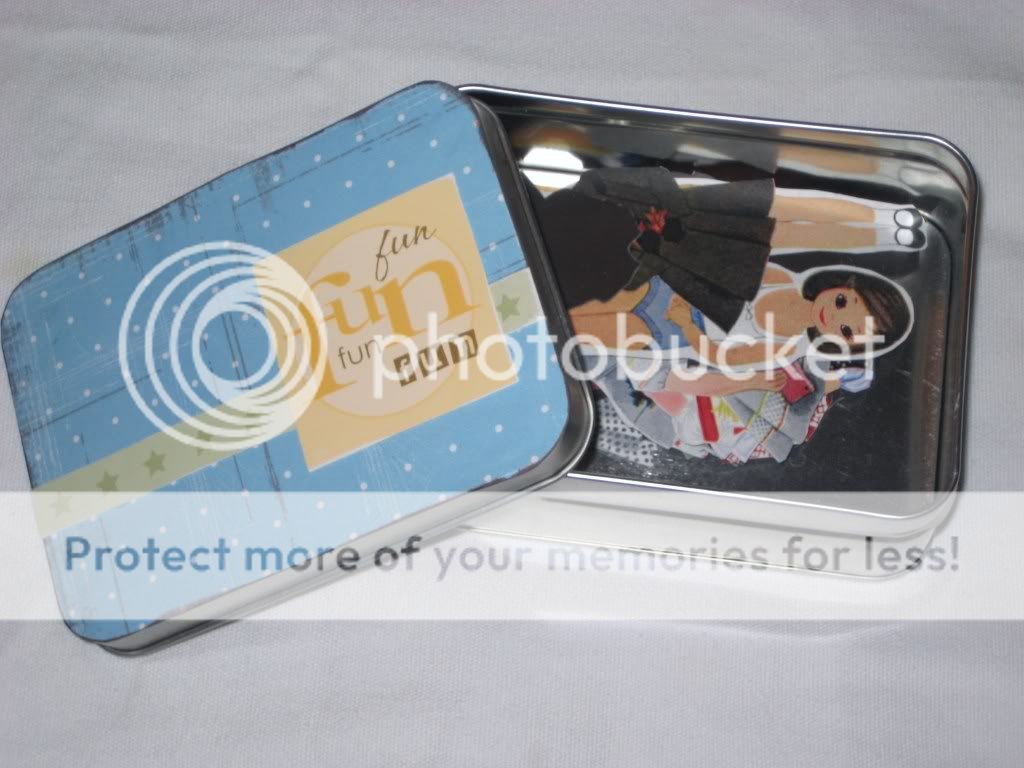
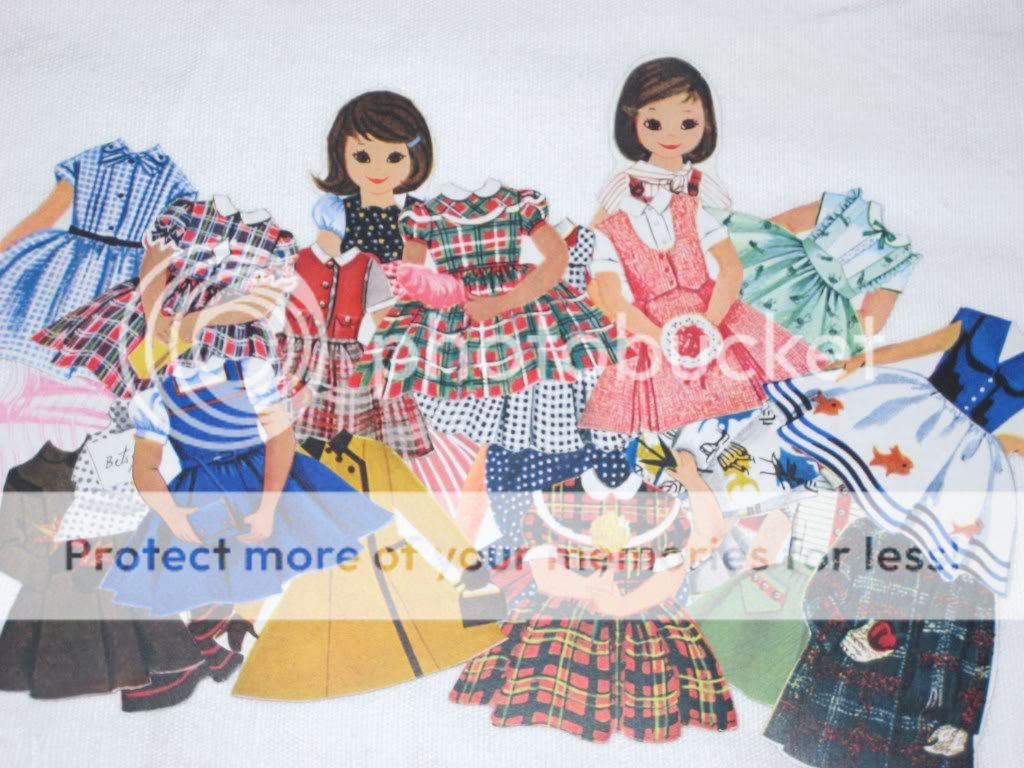
A sweet relative that knows how much i love to craft emailed me about her ward craft day (church) and asked if I would be interested in the magnetic paper dolls she was doing. Of course I said yes! I bought a set and she provided everything to make mine up (so convenient) but I found this tutorial to make your own if you are interested. I didn't really like the cover for the tin that came with it so I made my own. I think it turned out cute. Right now its attached with glue dots but I am planning on using my spray adhesive once I dig it out of a box in the garage. I love how they turned out and can't wait to use them in church on Sunday.


What fun toys have you made for your kids? I'd love to know-my kids always want me to make them stuff.